Here’s How To Register For The MyDigital ID

Table of Contents
Yesterday, a notice in the MyJPJ app stated that starting from October 10 2024, the MyDigital ID will be required for login purposes for the app.
Seeing that the MyJPJ app is the widely used for motorists to renew and review their road tax and driving licence information, motorists are now in a clamor trying to understand what exactly is the MyDigital ID, and how to register for it.
Although the announcement ended up being overturned by the Transport Minister Anthony Loke, it’s still worth registering for the MyDigital ID, as it still might get adopted in the future for other government agencies.
So that’s why in this article, we’re going to be explaining what exactly is the MyDigital ID, and how do you register for it.
What is MyDigital ID?
Now before we can get to the meat of the issue, let’s have a look at what exactly is MyDigital ID, and understand why JPJ is adopting it as part of their login process, a move that might be adopted by other government agencies as well.
Simply speaking, MyDigital ID is a part of the government’s move towards digitalisation, and MyDigital ID is intended to be a form of digital self-identification and authentication for individuals for use by both the public and private sectors. The main purpose is to verify user identities during online transactions. So basically, it is supposed to be the digital version of our IC.
How do I register for MyDigital ID?
So now that we understand what the MyDigital ID is, and what is it used for, let’s get to the important part; how to register for your own MyDigital ID.
Here are the steps;
First step
The first thing you have to do is download the MyDigital ID app. You can get the app on the Google Play Store, Apple App Store, and the Huawei App Gallery.
Now that you have the app, open the app and you’ll see the main screen, which looks like this;
Then, all you have to do is click on the ‘Daftar Online’ (register online) button, and you will be taken to the next step. If you want to change the language of your app to English you can as well, by clicking on the three lines on the top left corner of the app.
Second step
Type in your email address, and then press the ‘Next’ button.
Third step
After the second step, you should have gotten your OTP in your email inbox. Now just copy that OTP and paste it in the boxes provided, and click on the ‘Next’ button.
Fourth step
Now fill in your personal information, and click on the ‘Next’ button.
Fifth step
Now the app will ask you to take a picture of your MyKad, both the front side and your back side. To do that, you have to give the app permission to access your camera. Now just use the camera and take a picture of your MyKad, starting from the front and then the back.
Then after that, you will be asked to take a selfie for the ‘eKYC’ process.
Once your MyKad picture and your selfie is accepted, you will receive a notification that the eKYC (electronic know your customer) process is complete, and you can proceed to the next step, which is;
Sixth step
The sixth step is simple, choosing your password. Just key in a secure password, and press the ‘Next’ button. After you’ve chosen your password, you’ll be hit with a prompt asking you “Do you want to store Digital ID in this device?”
Don’t worry, this is just to confirm with you that you want to keep your Digital ID on this device.
And finally, it will tell you that you registration is a success, and the expiry date of your digital ID. Don’t worry, when it expires all you have to do is renew it.
“I faced some problems during the registration, what do I do?”
Some of you might have issues while registering, especially during the eKYC process. In fact, plenty of other prospective users on the internet have complained about the eKYC process, saying that they get rejected from the eKYC for a myriad of issues, and the fact that emails from MyDigital ID usually ends up in the junk folder of your email inbox.
In this case, what do you do? Well. our advice is, do the physical registration instead.
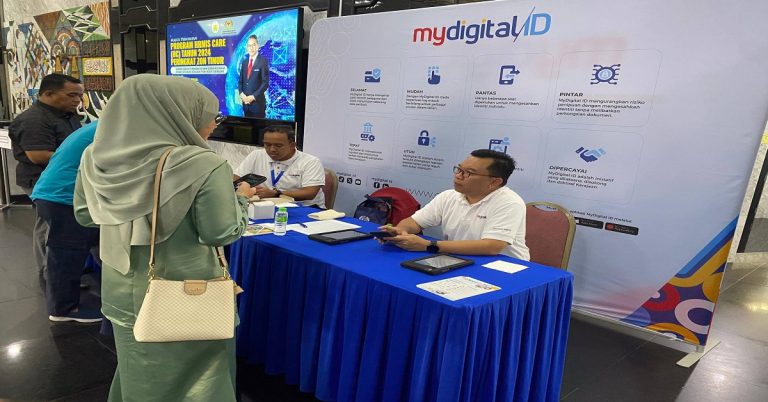
You can do the physical registration at any Jabatan Pendaftaran Negara (JPN) outlet or any participating Tealive outlets. Yes you read that right, Tealive outlets.
You can check for the nearest location to you right here.
Just make your way to the nearest location to you, and your registration will be done in a jiffy.
So that’s how you can register yourself for the MyDigital ID. For more information, you can go to MyDigital ID’s page right here.


